In this article
- A hotel that should not exist
- How Hilbert's paradox turns the impossible into reality
- Who was David Hilbert?
- Inside the Hilbert Grand Hotel
- Beyond the hotel: bigger infinities and famous paradoxes
- Hilbert's paradox opens the door to larger infinities
- Other paradoxes that challenge our intuition
- Why Hilbert's paradox still matters today
- The hotel that changed our understanding of infinity
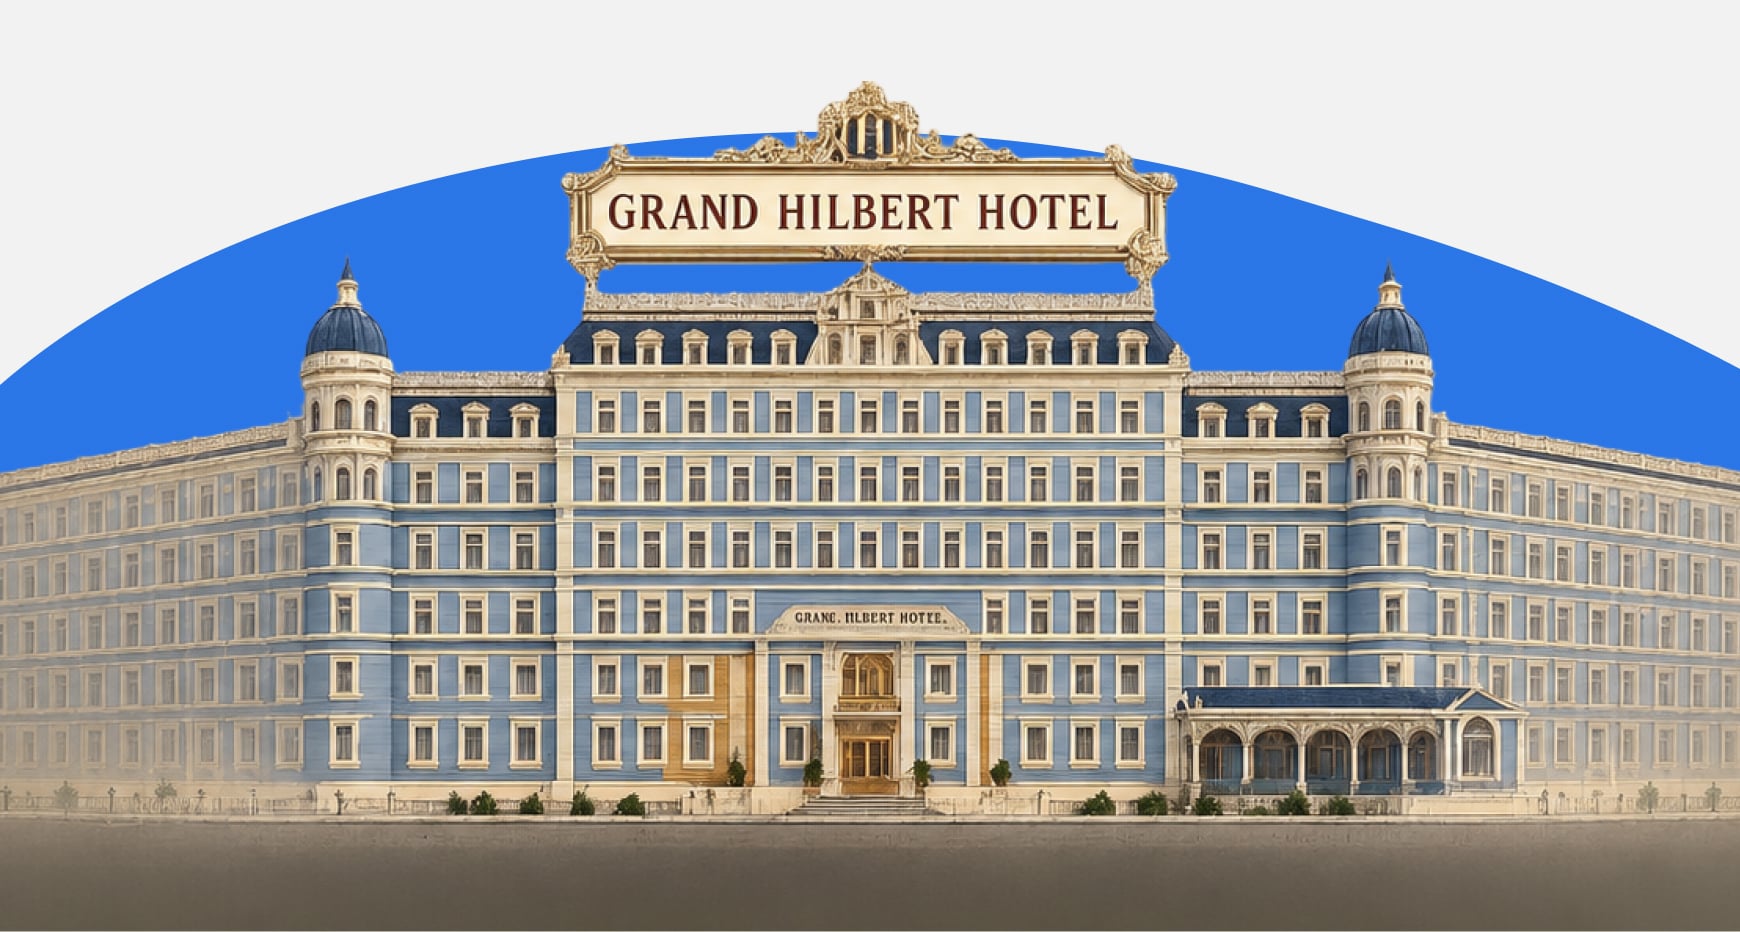
A hotel that should not exist
Imagine arriving at a hotel after a long journey, only to discover that every room is occupied. The receptionist apologizes… or at least that is what you would expect. Instead, they smile, hand you a room key, and tell you there is still plenty of space.
It sounds absurd, perhaps even like a mistake. Yet this is exactly what happens in Hilbert’s paradox, one of the most famous thought experiments in math. Better known through the Hilbert Grand Hotel, or simply the infinite hotel, the paradox reveals that infinity follows rules completely different from those governing the finite world. What begins as a curious story quickly becomes a gateway to some of the deepest ideas in modern math.
How Hilbert’s paradox turns the impossible into reality
Unlike many famous paradoxes, Hilbert’s paradox does not expose a flaw in logic or a contradiction in math. Instead, it highlights how easily our intuition fails when infinity enters the picture.
The thought experiment imagines a hotel with infinitely many rooms, numbered:
1, 2, 3, 4, 5…
Every room is occupied, yet a new guest arrives looking for accommodation.
In an ordinary hotel, the answer would be simple: there are no available rooms. In the Hilbert Grand Hotel, however, the manager asks every guest in room n to move to room n + 1. Guest 1 moves to room 2, guest 2 moves to room 3, and the process continues forever.
Mathematically, this reassignment can be described by the function:
f : N → N
f (n) = n + 1
Because every guest moves to a unique new room, nobody loses their accommodation and room 1 becomes available for the newcomer.
The remarkable feature is that the hotel remains completely full while simultaneously making space for another guest. This is impossible in any finite system but perfectly consistent for infinite sets.
Rather than being a logical contradiction, the paradox demonstrates one of the defining properties of countably infinite sets: they can be placed into a one-to-one correspondence with one of their own proper subsets.

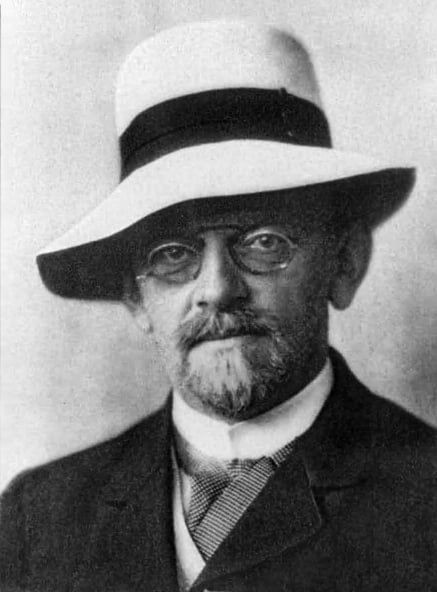
Who was David Hilbert?
The story behind the Hilbert Grand Hotel begins with one of the most influential mathematicians in history. David Hilbert (1862–1943) transformed almost every major branch of modern math, including geometry, algebra, mathematical logic, functional analysis, and the foundations of the discipline itself.
He is perhaps best remembered for presenting his famous list of 23 unsolved problems at the International Congress of Mathematicians in Paris in 1900. Those problems shaped mathematical research for decades, with several remaining unsolved even today.
The hotel paradox appeared later during Hilbert’s lectures on set theory. Inspired by Georg Cantor’s revolutionary work on infinite sets, Hilbert wanted a simple story that could illustrate why infinity behaves so differently from finite collections.
Instead of relying on abstract definitions, he imagined an impossible hotel. The brilliance of the example lies in its simplicity: anyone can understand the story, yet the mathematical ideas behind it reach the foundations of modern math.
Today, more than a century after Hilbert first introduced the thought experiment, the Hilbert Grand Hotel remains one of the clearest explanations of infinity ever created.
Inside the Hilbert Grand Hotel
If making room for one extra guest seems surprising, the paradox becomes even more astonishing when larger groups of visitors arrive.
Imagine that an infinite bus pulls up outside the hotel carrying infinitely many passengers. Once again, every room is already occupied.
The manager simply asks every current guest to move from room n to room 2n. This leaves every odd-numbered room vacant while every existing guest still has a place to stay.
The reassignment is represented by the function:
f : ℕ → 2ℕ
f ( n ) = 2n
This mapping pairs every natural number with an even number, leaving rooms 1, 3, 5, 7, and so on available for the new arrivals.
At first glance, this solution appears impossible. How can a hotel that was already full suddenly create infinitely many empty rooms?
The answer lies in one of Cantor’s most important discoveries. Although the set of even numbers appears to contain only half as many elements as the natural numbers, both sets actually have exactly the same cardinality.
This relationship can be expressed mathematically as:
|ℕ| = |2ℕ| = ℵ0
where ℵ₀ (pronounced aleph-null) is the symbol used in set theory to represent the cardinality, or “size,” of a countably infinite set.
The Hilbert Grand Hotel therefore provides far more than an entertaining puzzle. It offers an intuitive way to understand one of the most fundamental ideas in set theory: infinite collections can preserve their size even after infinitely many elements are rearranged.
This is precisely why the paradox has remained a favourite example in university courses on set theory and why it continues to captivate anyone encountering the concept of infinity for the first time.
Beyond the hotel: bigger infinities and famous paradoxes
The Hilbert Grand Hotel becomes even more fascinating when we push the thought experiment further. Imagine not just one infinite bus arriving at the hotel, but infinitely many buses, each carrying infinitely many passengers.
At first, the situation appears impossible. Even an infinite hotel should eventually run out of rooms.
Surprisingly, it does not.
Using clever numbering techniques, mathematicians can assign every passenger a unique room. One approach is to arrange passengers according to ordered pairs and then establish a one-to-one correspondence between those pairs and the natural numbers.
This remarkable property is expressed mathematically as:
ℕ × ℕ ≅ ℕ
where ≅ indicates that the two sets are in bijection, meaning every ordered pair of natural numbers can be matched with exactly one natural number.
The same idea can also be written using cardinal numbers:
ℵ0 × ℵ0 = ℵ0
Although multiplying finite quantities usually produces a larger result, countably infinite cardinalities behave differently. This is one of the many ways in which infinity defies our everyday intuition.
These examples show that the infinite hotel is much more than an entertaining puzzle. It provides an accessible introduction to concepts that form the backbone of modern set theory.
Hilbert’s paradox opens the door to larger infinities
The Hilbert Grand Hotel deals exclusively with countably infinite sets. However, one of Georg Cantor’s greatest discoveries was that not every infinite set can be counted.
The natural numbers,
ℕ = {1, 2, 3, …}
can be listed one after another forever. Their cardinality is:
|ℕ| = ℵ0
The real numbers, however, cannot be arranged into such a list. Cantor proved this using his famous diagonal argument, demonstrating that there are strictly more real numbers than natural numbers.
This relationship is written as:
|ℝ| = 2ℵ0 > ℵ0
In other words, the set of real numbers has a greater cardinality than the set of natural numbers.
This discovery fundamentally changed the study of infinity. Before Cantor, infinity was often treated as a single abstract concept. His work revealed an entire hierarchy of infinite sizes, each with its own mathematical properties.
Although Hilbert’s paradox focuses on countable infinity, it naturally leads readers to one of the most profound ideas in modern math: some infinities are genuinely larger than others.
Other paradoxes that challenge our intuition
The Hilbert Grand Hotel is perhaps the best-known thought experiment involving infinity, but it is far from the only one.
Several famous paradoxes explore similar ideas from different perspectives.
- Galileo’s paradox compares the natural numbers with their perfect squares. Although perfect squares appear less numerous, every natural number corresponds to exactly one square, suggesting that both sets have the same size.
- Zeno’s paradoxes investigate motion by asking how a journey can ever be completed if it contains infinitely many intermediate steps.
- Cantor’s diagonal argument demonstrates that the real numbers cannot be counted, proving that uncountable infinities exist.
Together, these examples illustrate that infinity is not simply “very large.” It is a mathematical concept with surprising and sometimes counterintuitive properties that continue to inspire research today.
Why Hilbert’s paradox still matters today
At first glance, Hilbert’s paradox might appear to be little more than a clever story. In reality, it provides one of the most intuitive introductions to set theory, cardinality, functions, and mathematical logic.
The ideas illustrated by the Hilbert Grand Hotel continue to influence many areas of modern science, including computer science, cryptography, formal verification, theoretical physics, and artificial intelligence. Understanding how infinite structures behave helps researchers reason about algorithms, computation, and abstract mathematical models.
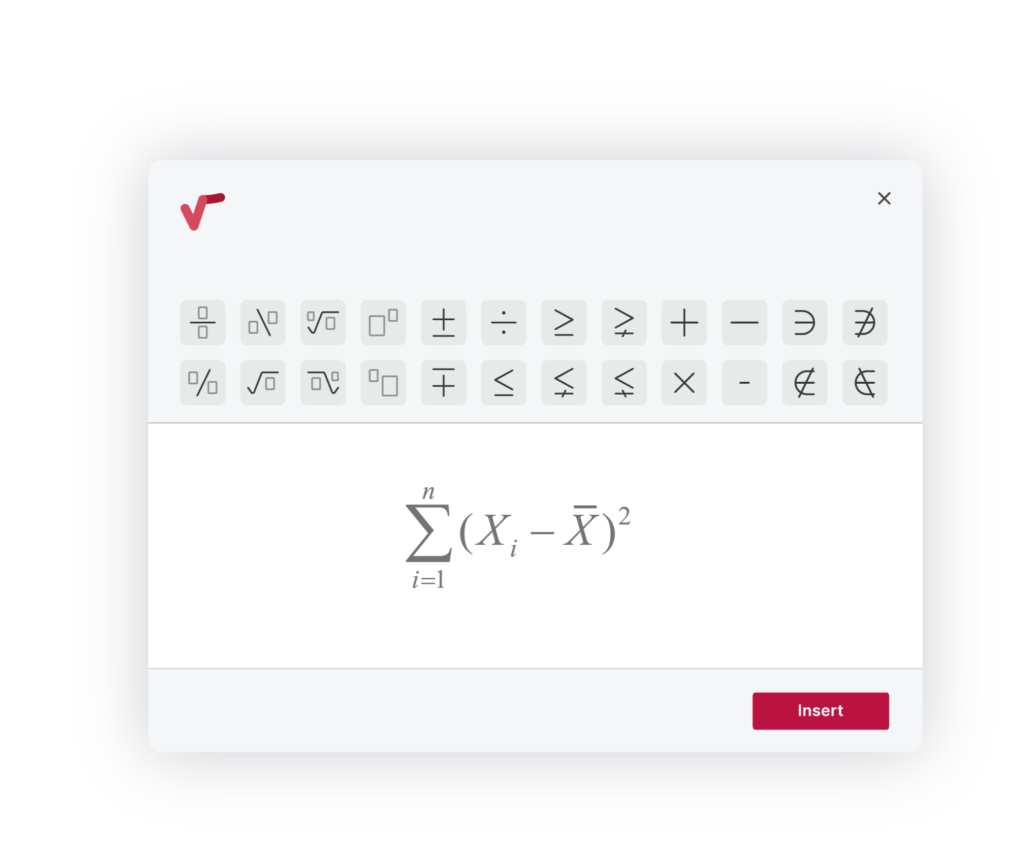
As these topics become more advanced, mathematical notation also becomes increasingly sophisticated. Functions, mappings, cardinalities, and symbols such as ℵ₀, ℝ, or ℕ are difficult to write accurately using a standard keyboard.
This is where MathType becomes especially valuable. MathType is Wiris’ professional equation editor that enables educators, students, researchers, and technical writers to create high-quality mathematical notation across word processors, learning management systems, assessment platforms, and digital documents. Whether writing simple functions or advanced set theory expressions, MathType makes communicating complex math both faster and more precise.
The hotel that changed our understanding of infinity
Few thought experiments have had the lasting impact of Hilbert’s paradox. With nothing more than an imaginary hotel, David Hilbert transformed one of the most abstract ideas in math into a story that continues to captivate students, educators, and mathematicians around the world.
The Hilbert Grand Hotel demonstrates that infinity refuses to follow the rules of ordinary experience. A hotel that is completely full can always welcome another guest. An infinite number of new visitors can still find a room. Even infinitely many buses carrying infinitely many passengers can be accommodated through carefully constructed mathematical mappings.
Far from being a curiosity, the infinite hotel offers an accessible gateway to understanding the foundations of set theory and one of the most revolutionary discoveries in modern math: infinity is richer, stranger, and more beautiful than our intuition could ever predict.
If you enjoy exploring the ideas that shape modern math, discover more articles on the Wiris blog and see how MathType can help you write and communicate mathematical notation with clarity, whether you are preparing teaching materials, conducting research, or simply sharing your passion for math.
Share


Discover why thousands trust MathType
Enjoy 30 days of free access to MathType for Office Tools.