Create and edit math formulas with our equation editor, MathType. Students, teachers, and professionals can easily write math equations across many digital platforms.
Trusted by 100,000+ organizations globally


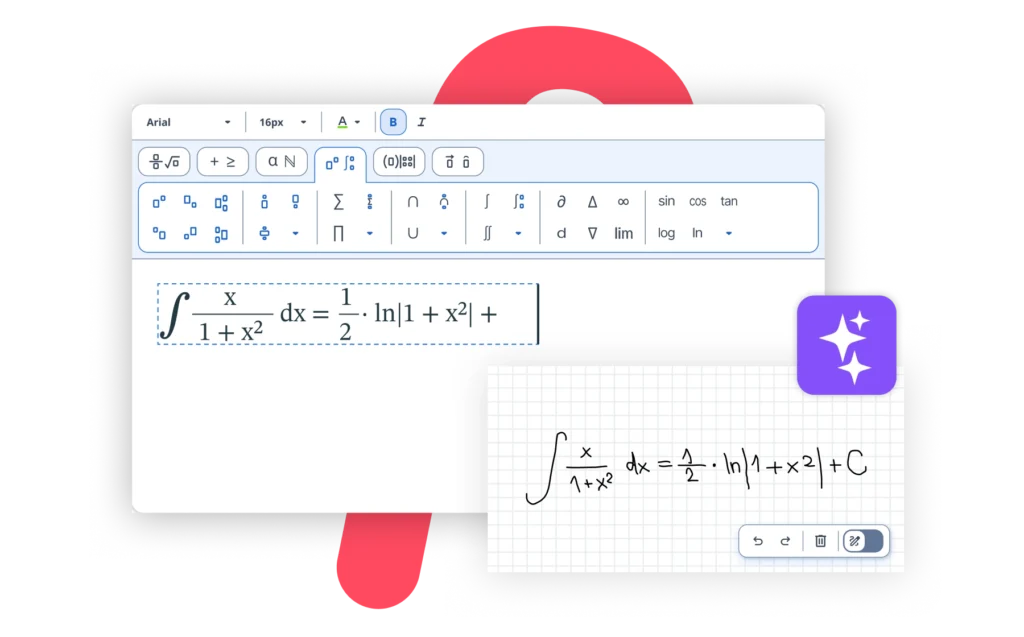
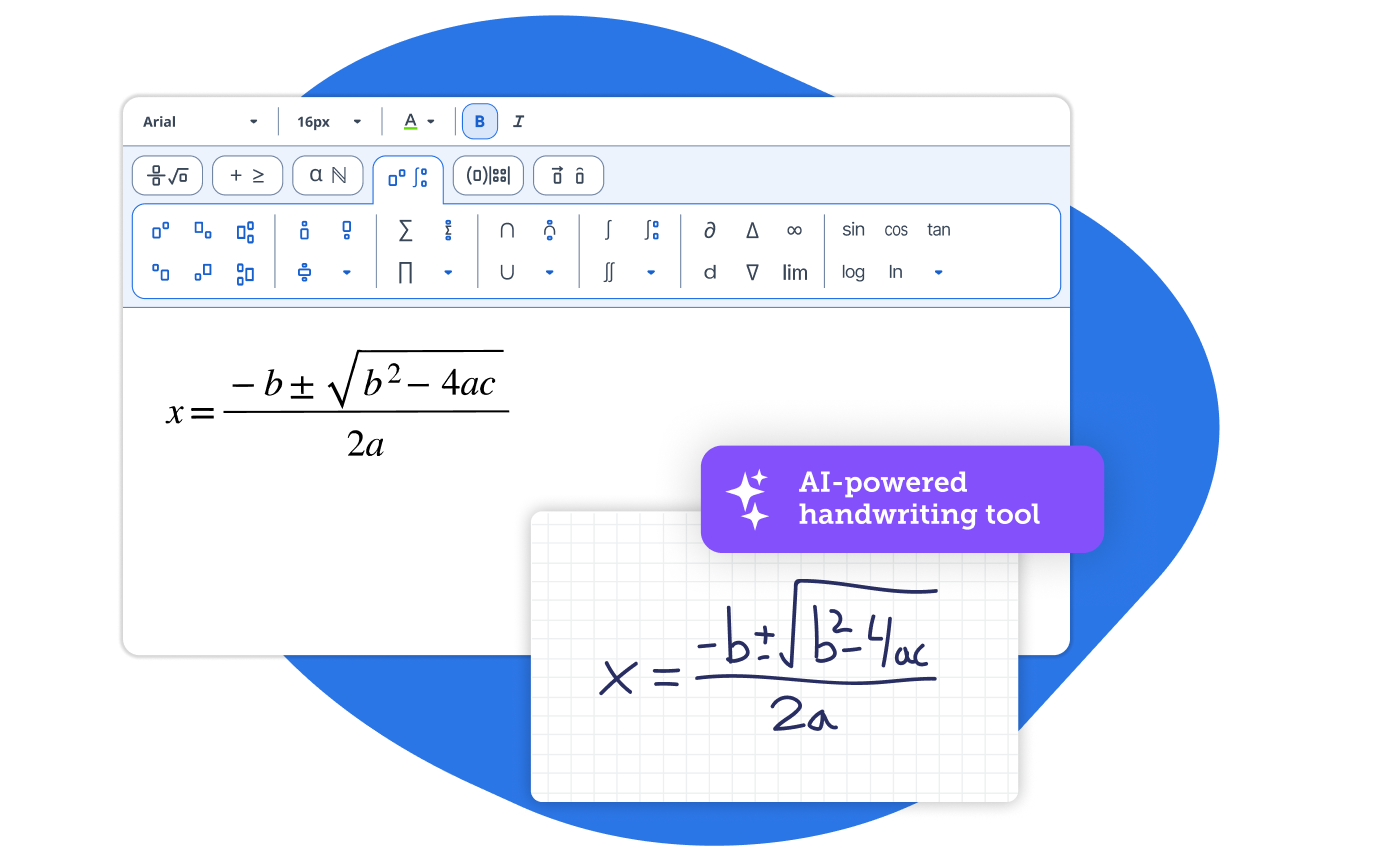
Write math equations by hand and let MathType instantly convert them into perfect, editable formulas ready for any digital document or platform.
I like the fact that one can easily write Mathematical and Statistical equations and use all kinds of relevant symbols. It makes documentation neat and presentable.
Smita P.
You can easily write mathematical and statistical equations that make documentation look neat and presentable.
Joanna P.
MathType is great! It helps me a lot in my work as a teacher and I love this software program.
Matei M.
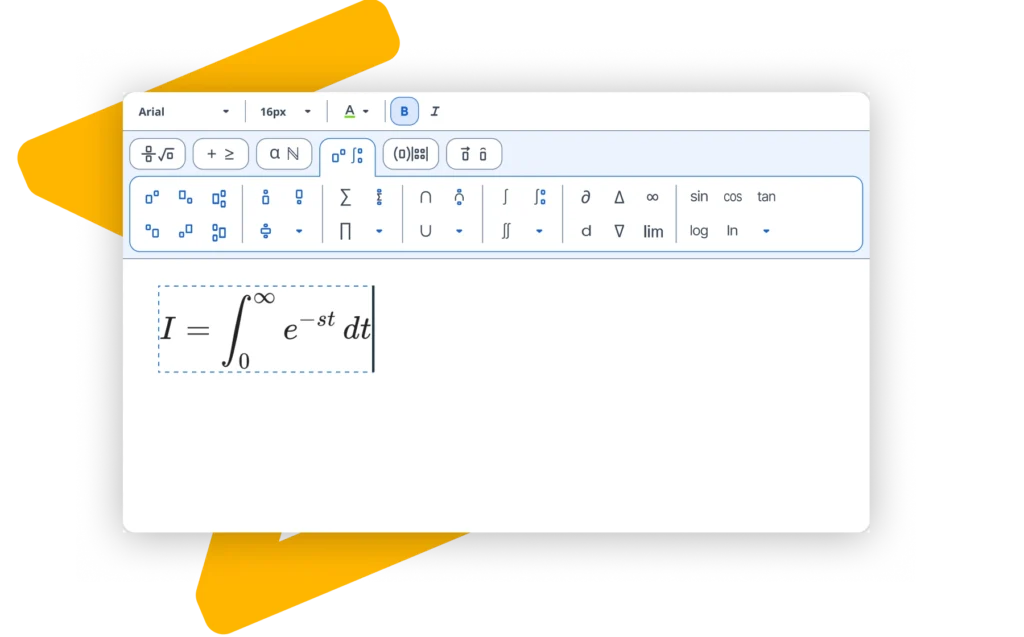
MathType supports matrices, multiline equations, and a comprehensive range of specialized symbols, ensuring you have everything needed for any mathematical or scientific notation.
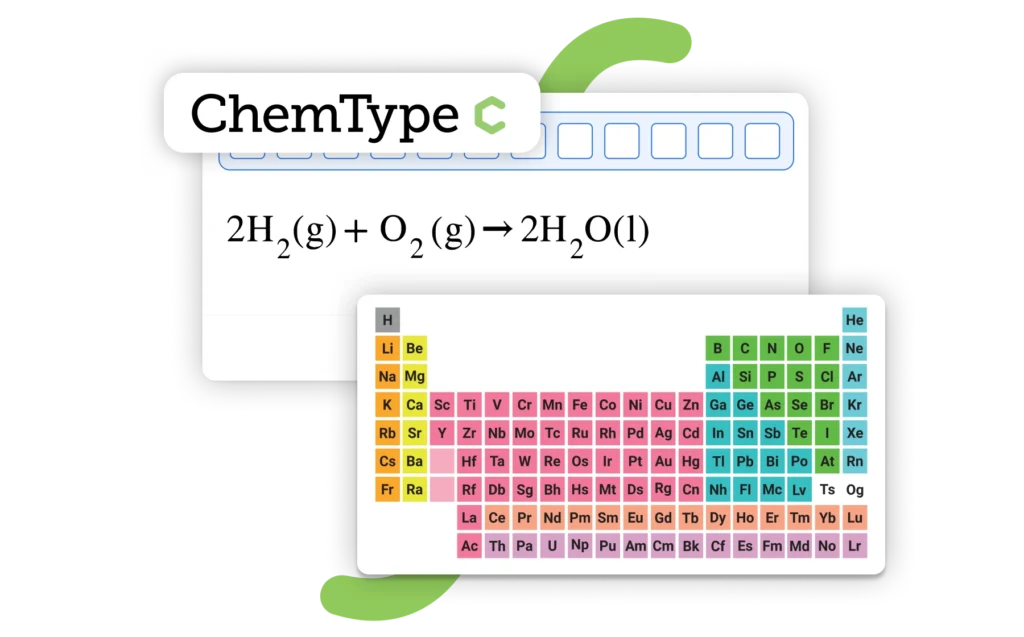
Switch seamlessly between math and chemistry notation with ChemType, the built-in toolbar equipped with chemical buttons to create formulas.

Enjoy 30 days of free access to MathType for Office Tools.
Empowering STEM education