Trusted by 100,000+ organizations globally
Compatible with LMS (Learning Management System), HTML tools, XML editors, CMS, and many more custom option.


Enjoy 30 days of free access to MathType for Office Tools.
Empowering STEM education

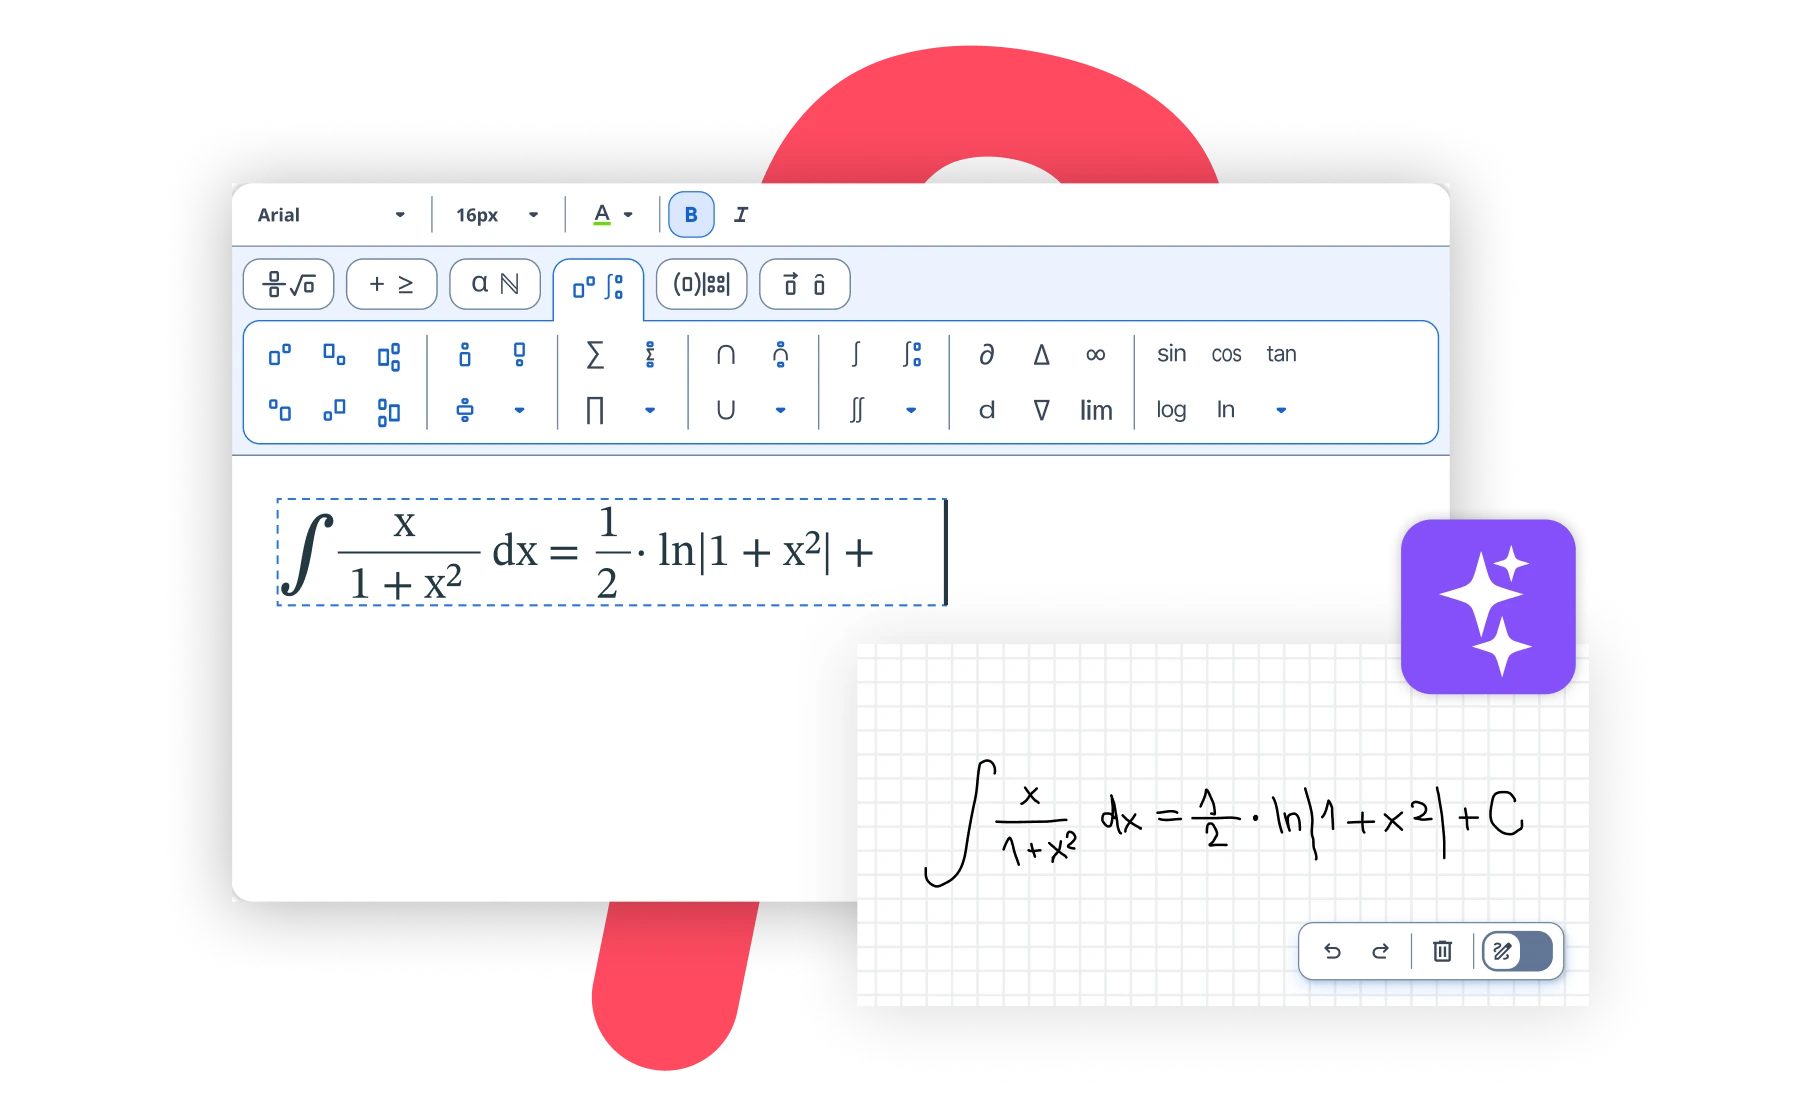
 MathType
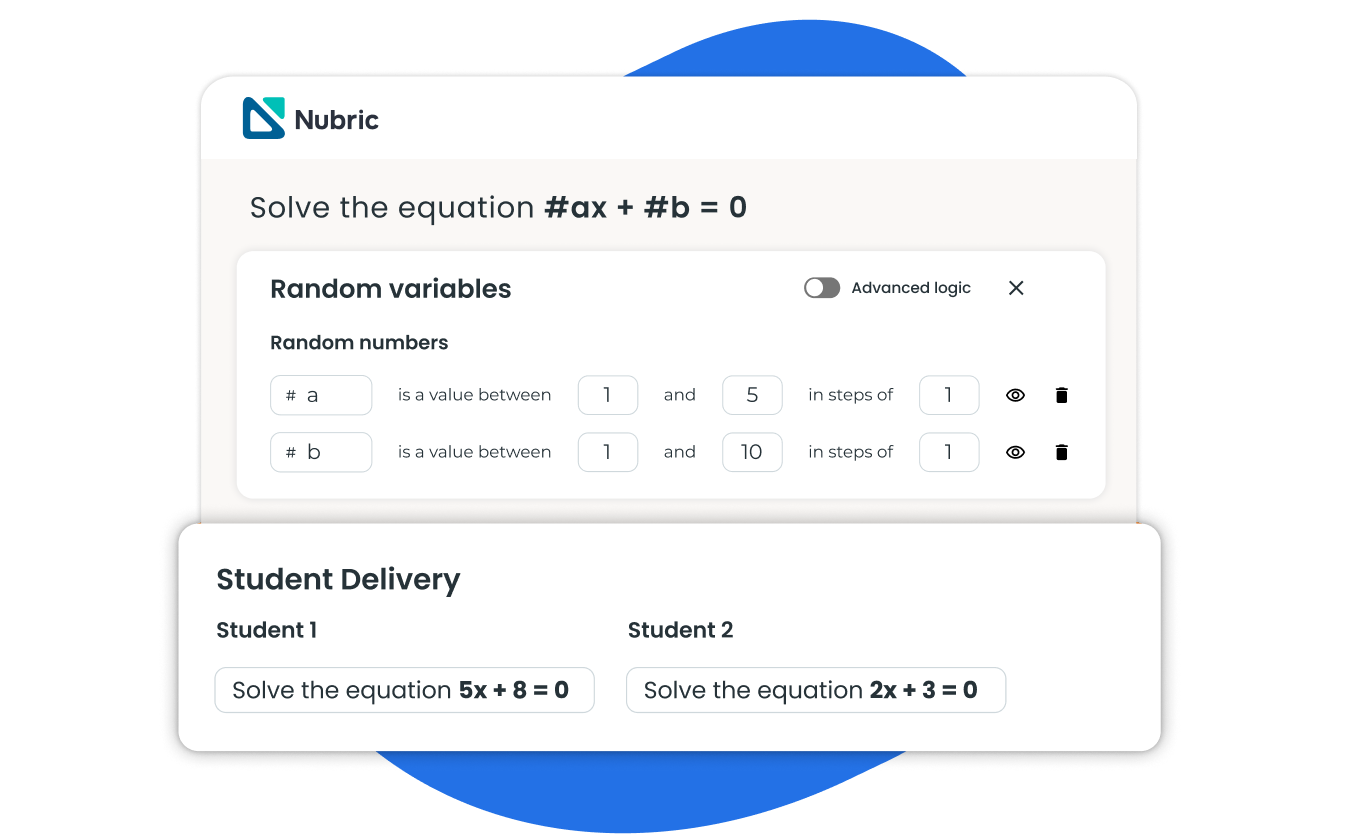
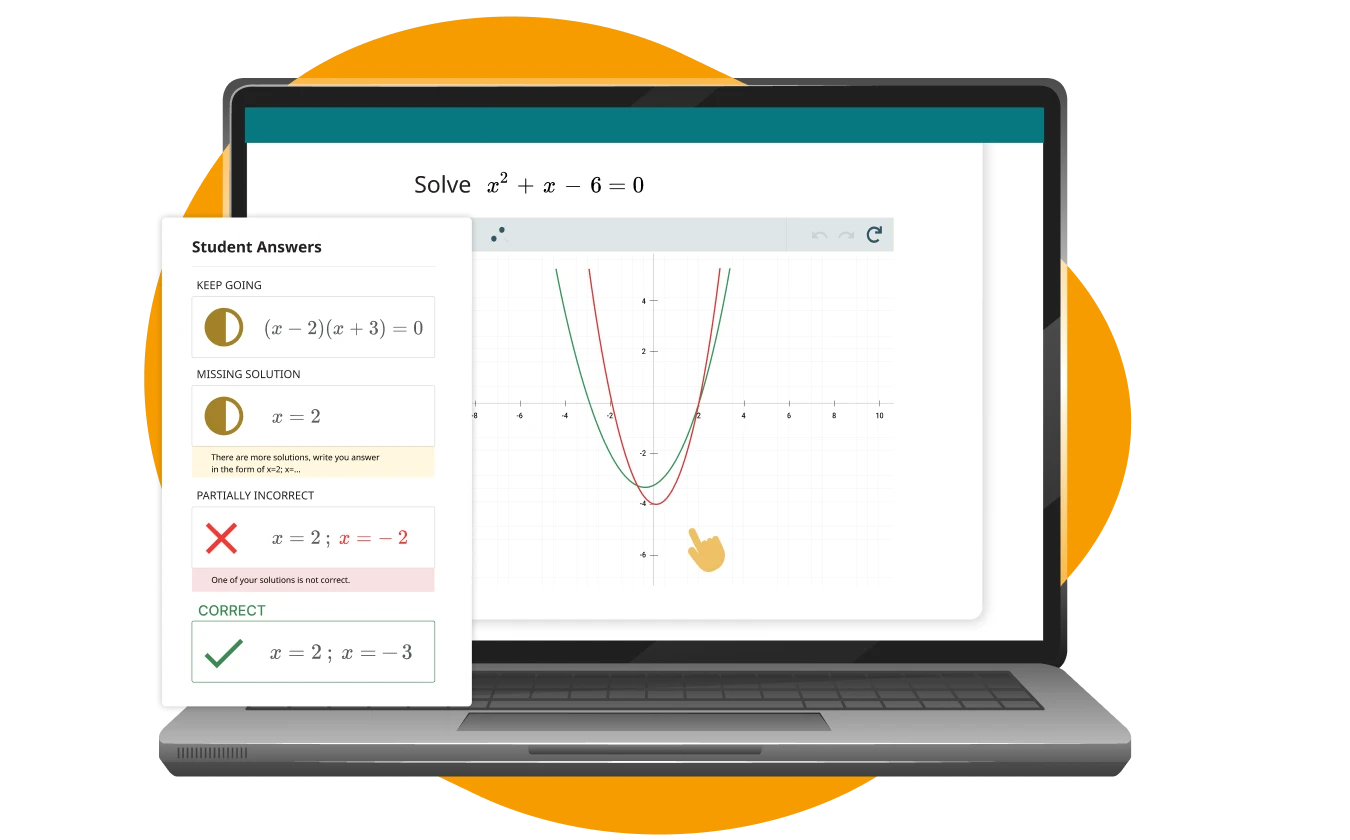
 WirisQuizzes
 Nubric